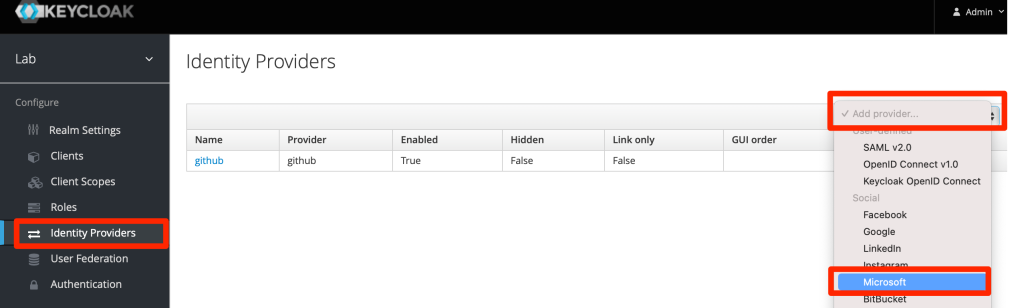
Adding a Microsoft identity provider
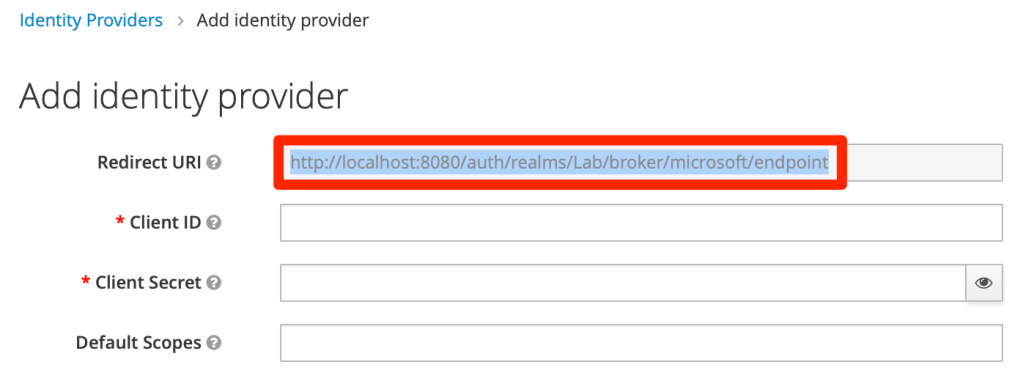
Copy Redirect URI to clipboard
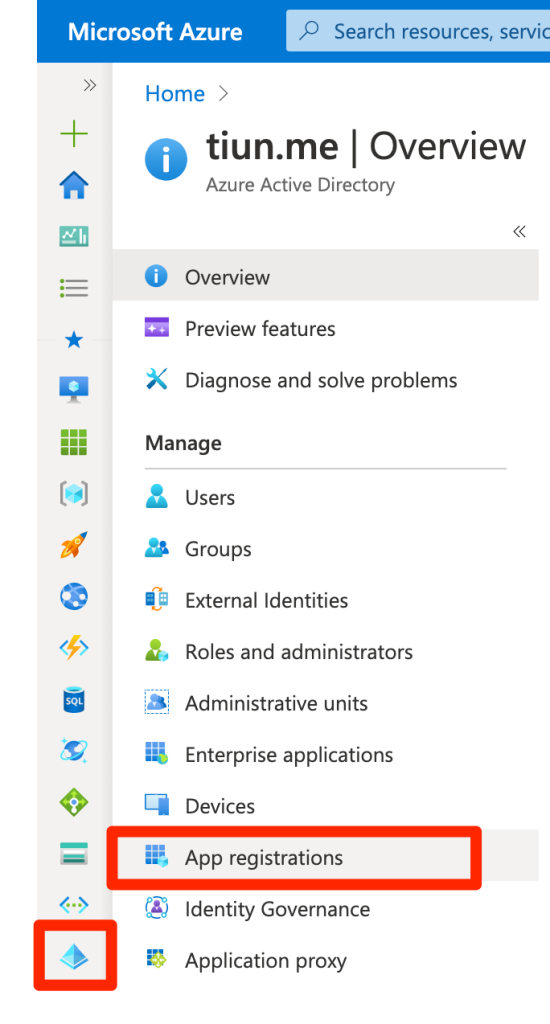
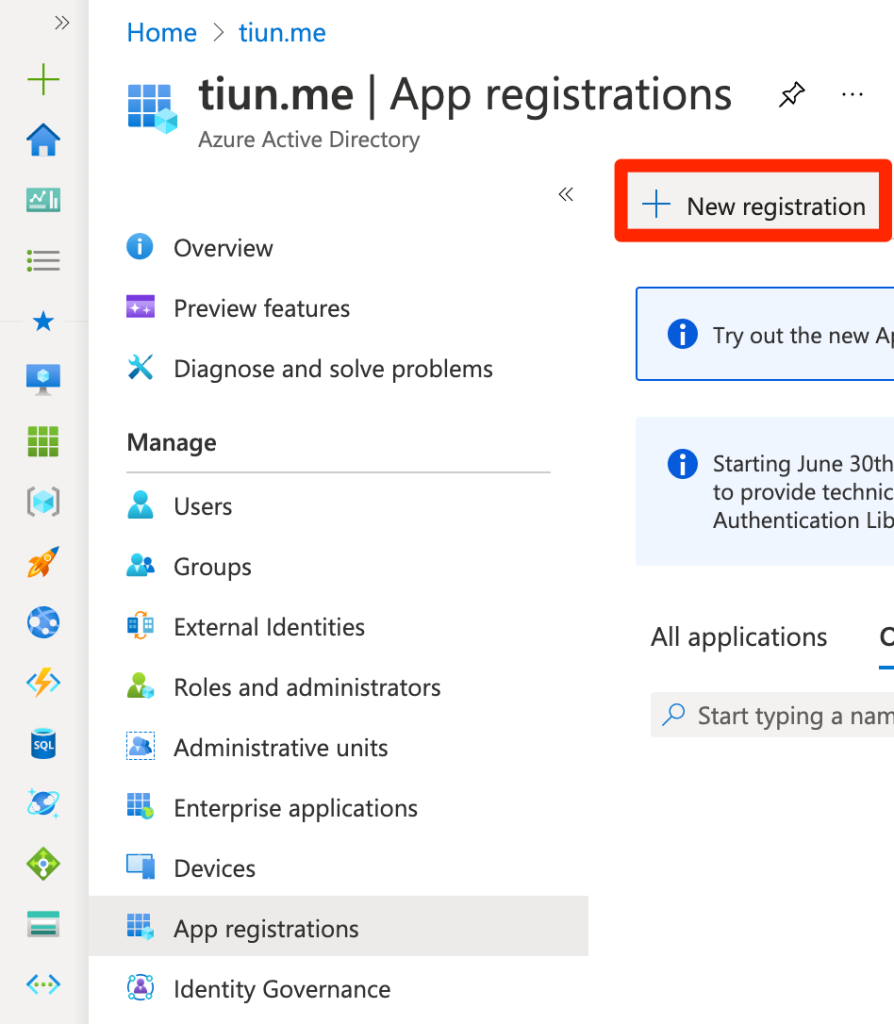
Go to Azure AD and select “App registrations”
In “App registration” tab, select “+ New registration”
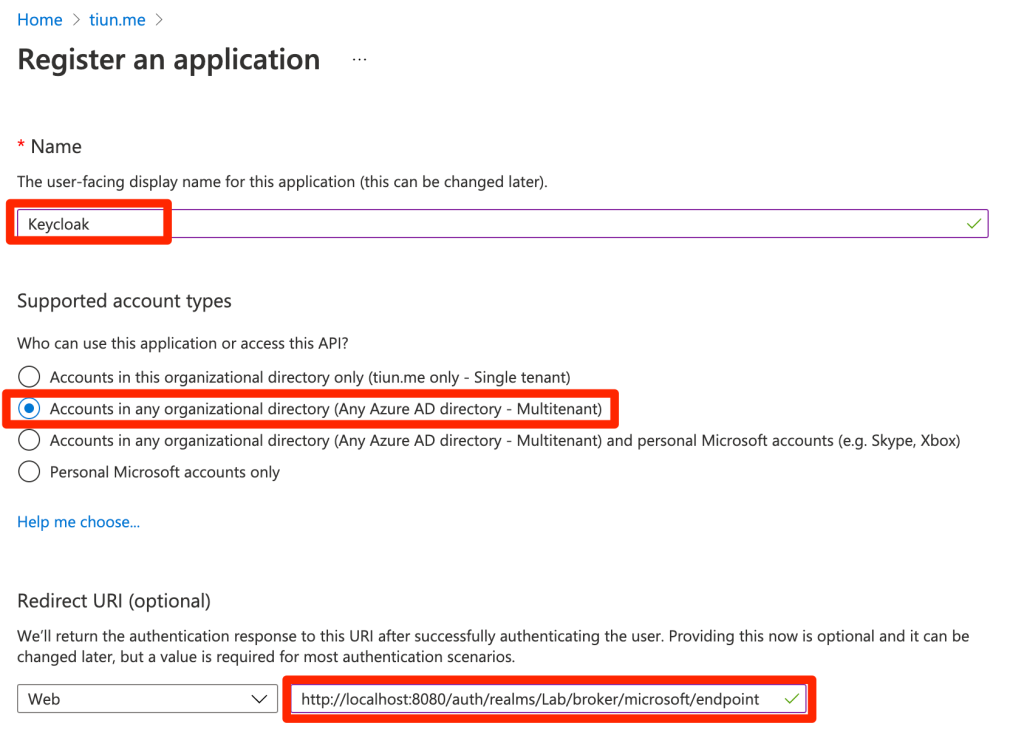
Enter app’s name, select “Multitenant” account type (if “Single tenant” account type does not work) and then paste the redirect URI from Keycloak configuration
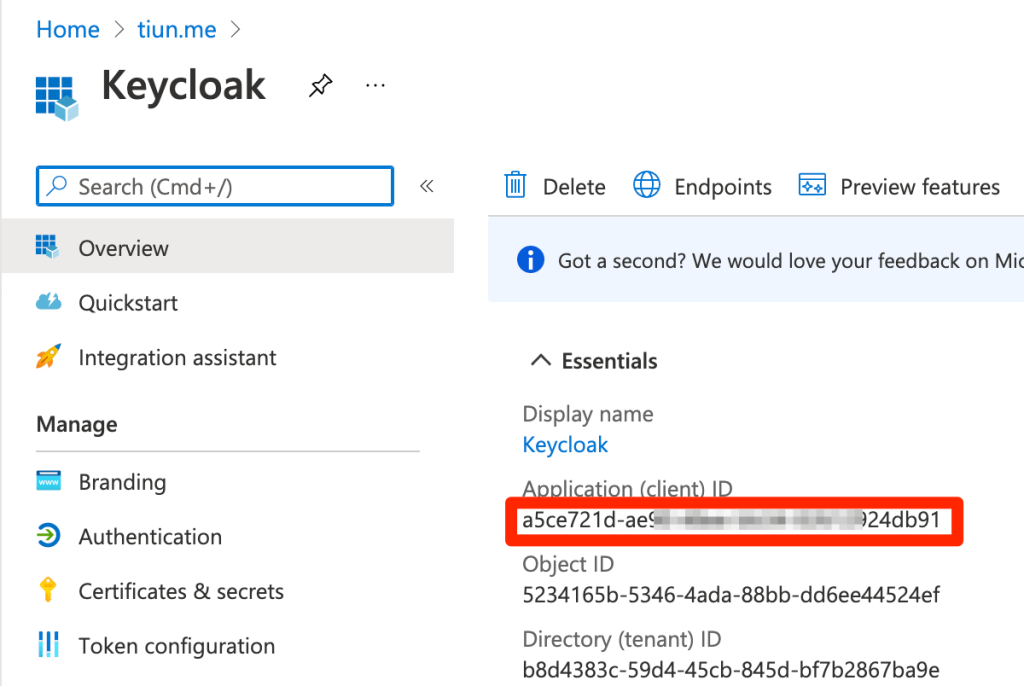
In Azure’s App overview tab, copy app’s client ID
Select “Certificates & secrets” tab and create a new client secret
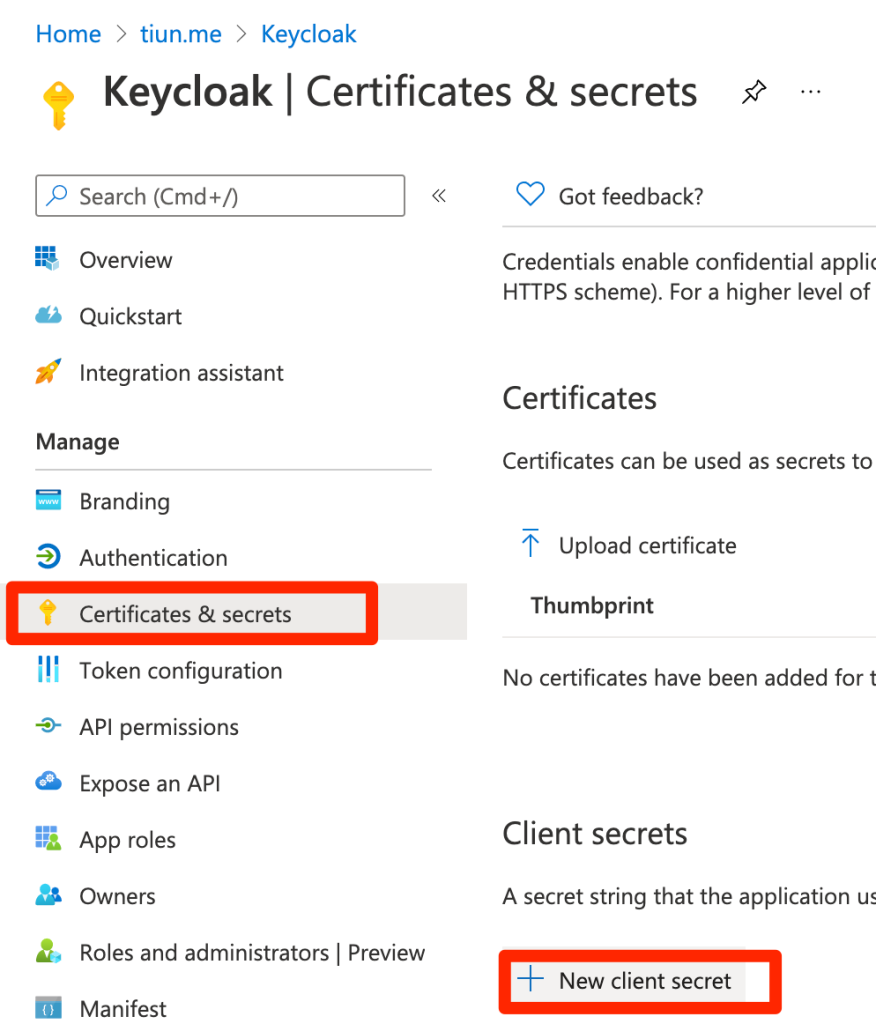
When adding secret, enter the description and select when to expire
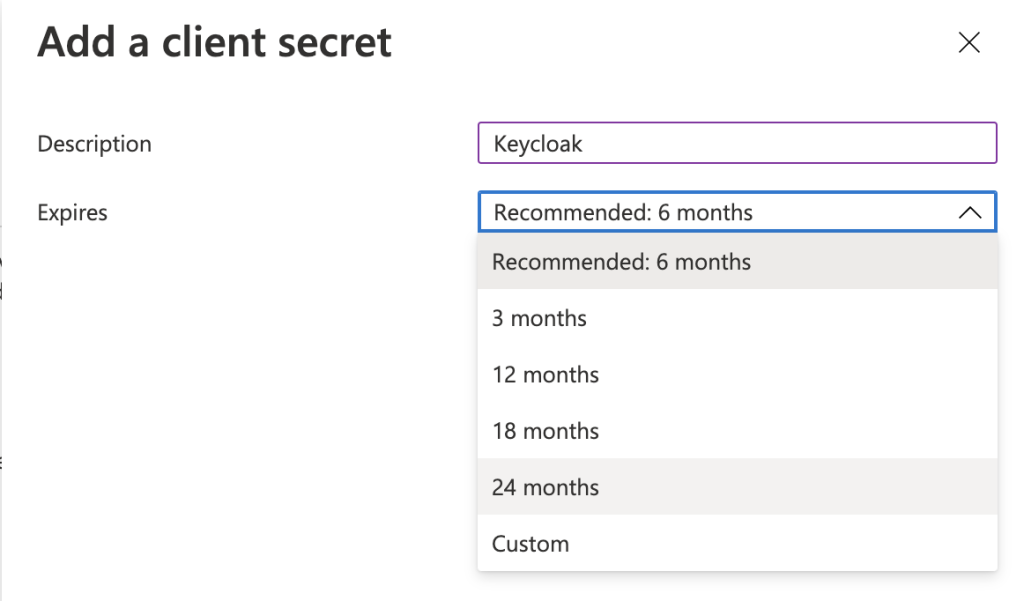
Copy the value of the secret

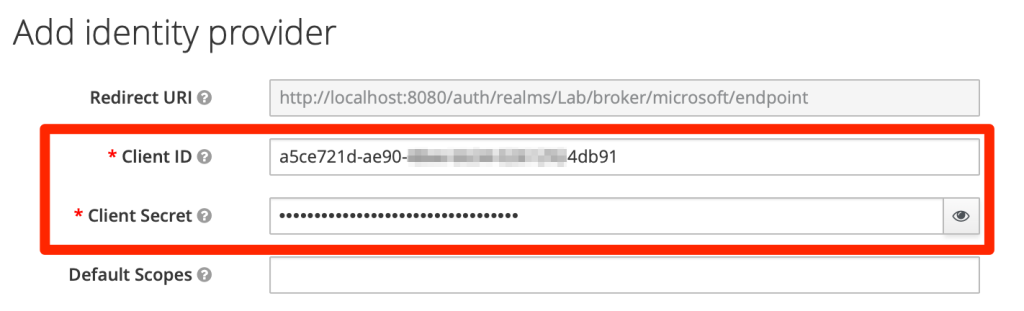
Back to Keycloak paste the client ID and secret copied in the previous steps
You then can use Microsoft account to login
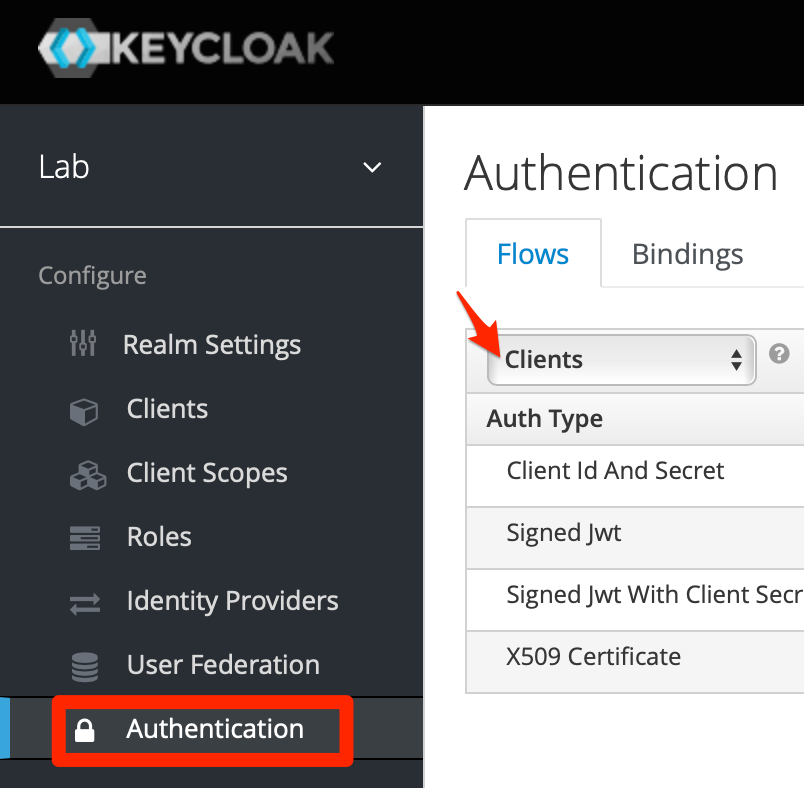
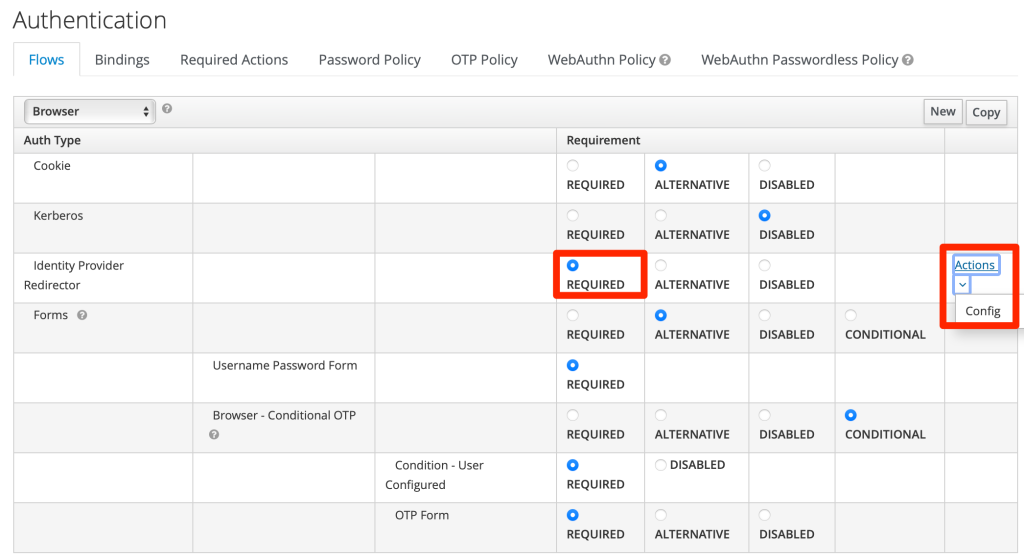
In case you want user to login directly with Microsoft, you can do that by going to “Authentication” tab and click the menu
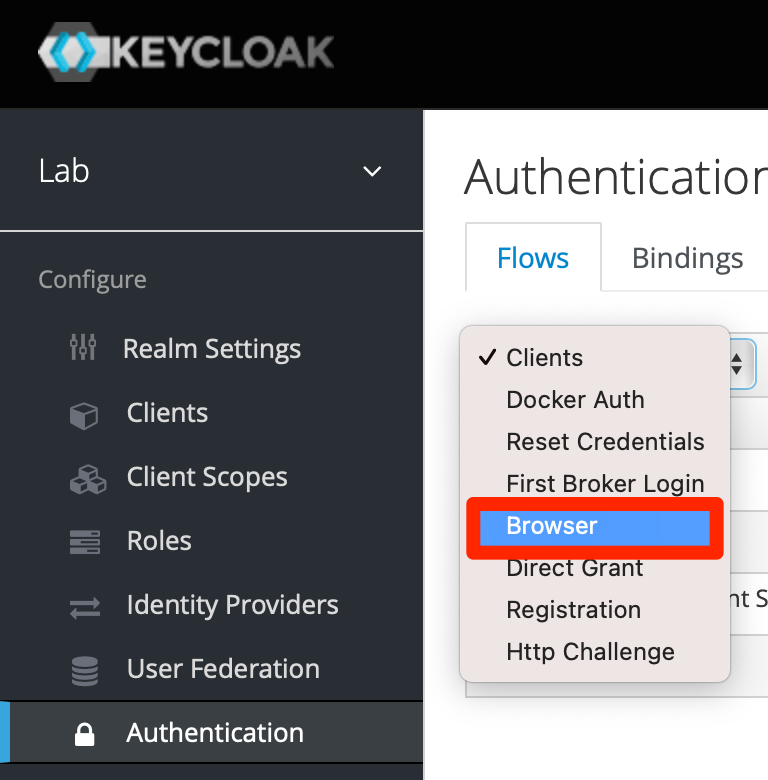
Select “Browser”
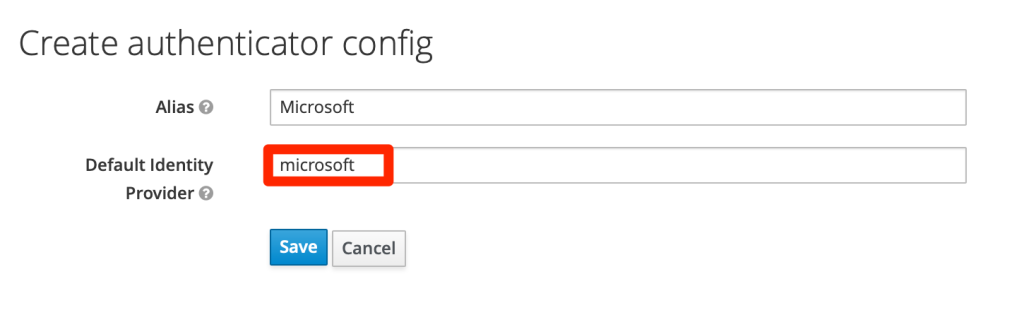
In “Identity Provider Redirector” row, select “REQUIRED” and then click “Actions” and “Config”
Enter the alias of the configuration and the name of the IDP you want to use ( “microsoft” in this case)